Linear Tutorial
Experiment Step-by-Step Set-up
Introduction
-
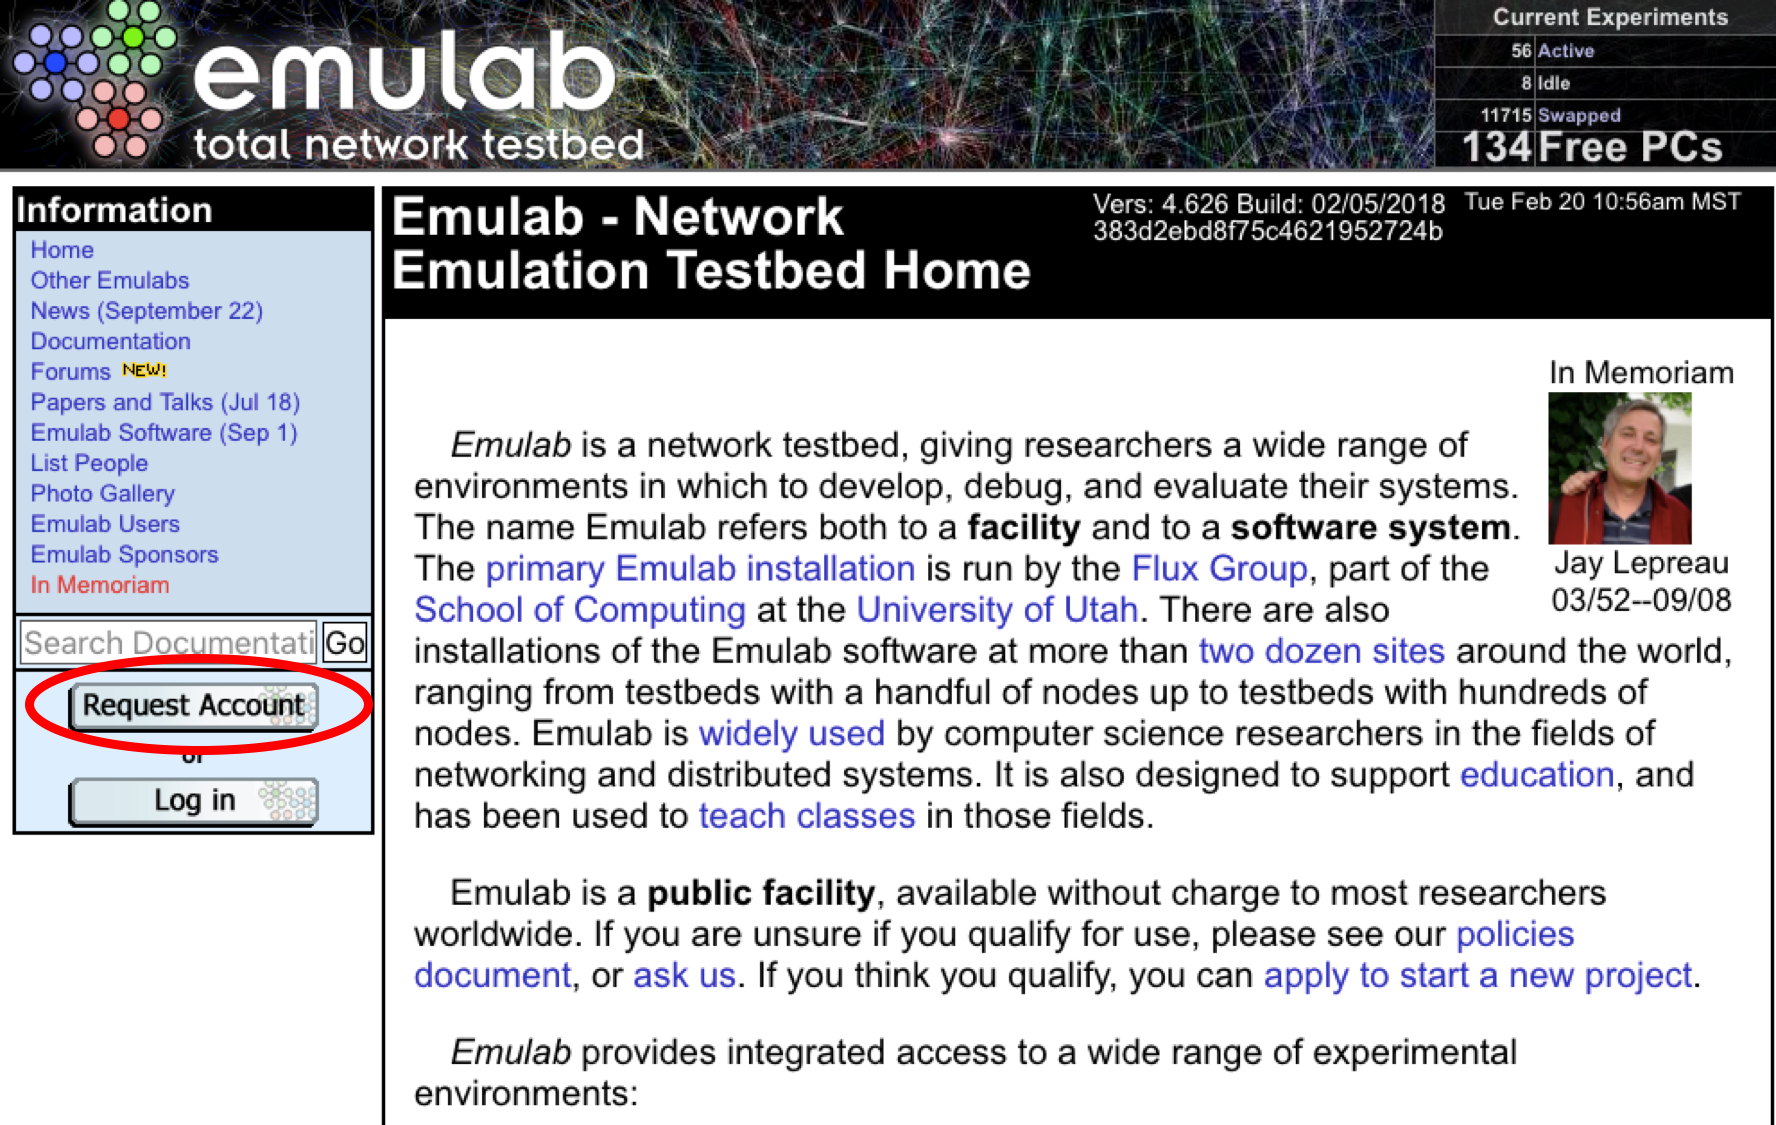
Create account on the Emulab cloud infrastructure at emulab.net and wait for approval
-
Once approved for an account, fill out your information making note of the following points:
-
When filling out information for your account ensure that you put “Infosphere” for both the group AND the project
-
Select bash for your default shell
Note: if you forget to set your shell, you can set it after logging into Emulab and clicking the “Edit Profile” link
-
-
Create a public RSA (SSH) key on your local ‘nix machine under a bash shell
SSH Generation
-
Add the SSH key to your account by selecting “My Account” and then “Edit SSH keys” on the left hand side of the page. This is where you would paste your SSH key from the prior step.
-
Email Elba@cc.gatech.edu with your GitHub username to gain access into the GitHub repository
Note: If you do not have a GitHub account, please create an account at GitHub.com
-
Using your computer terminal, create a directory on Emulab’s shared file system,
users.emulab.net. The following example uses JaneDoe JaneDoe@users.emulab.net as the operative Emulab account:ssh JaneDoe@users.emulab.net cd /proj/Infosphere mkdir JaneDoe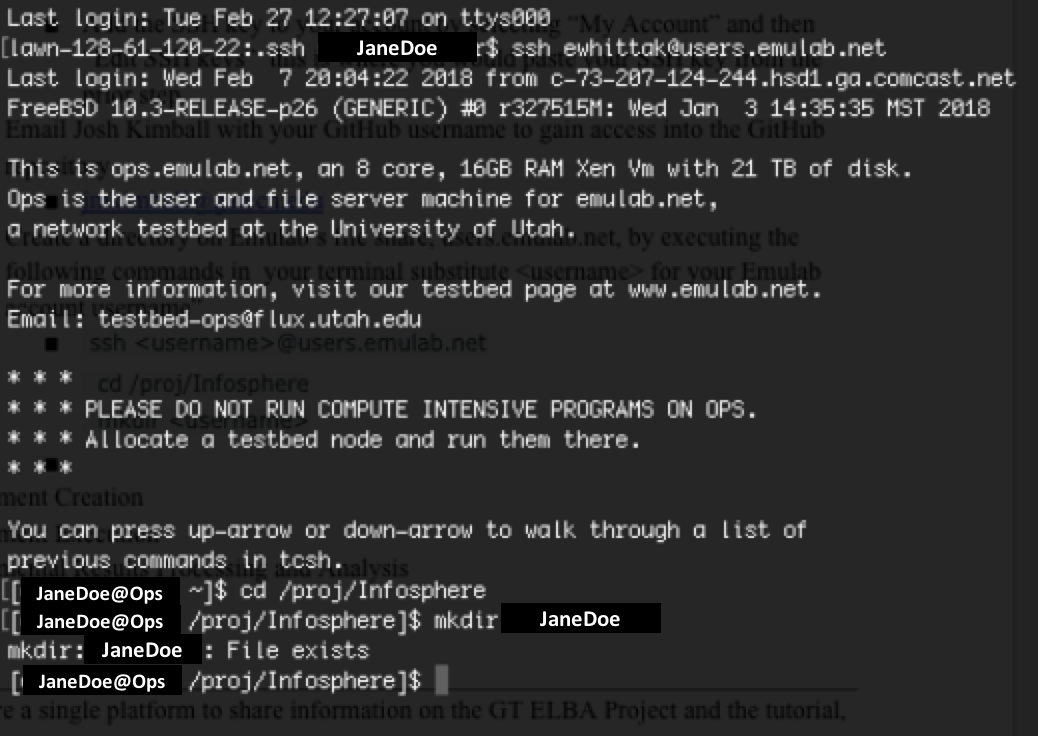
Note: You should substitute your own Emulab account username accordingly.
Bootstrap
The alpha release of Project Elba can be found at the following location: Project Elba Alpha v1
Note: You must request permission to access this git repository before attempting to clone it.
-
In your terminal, navigate to your user directory on Emulab, i.e. the directory created in the previous step
cd /proj/Infosphere/JaneDoeNote: You should substitute your own Emulab account username from this point forward.
-
Clone the repository by executing the following code
git clone https://github.com/coc-gatech-newelba/NewElbaAlpha.git -
After executing this command, you will be asked to provide your GitHub Username and Password, so please have this information on hand when going through this step
(insert March 1.1 screenshot)
-
Navigate into the directory of the repository you just cloned, i.e. NewElbaAlpha
 cd ./NewElbaAlpha

 git status
After running this last command, you should see the following:
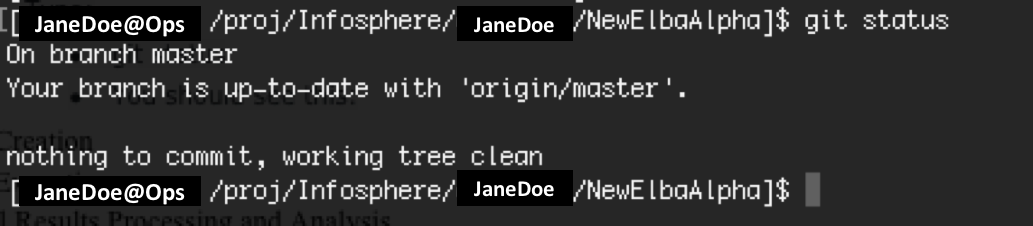
-
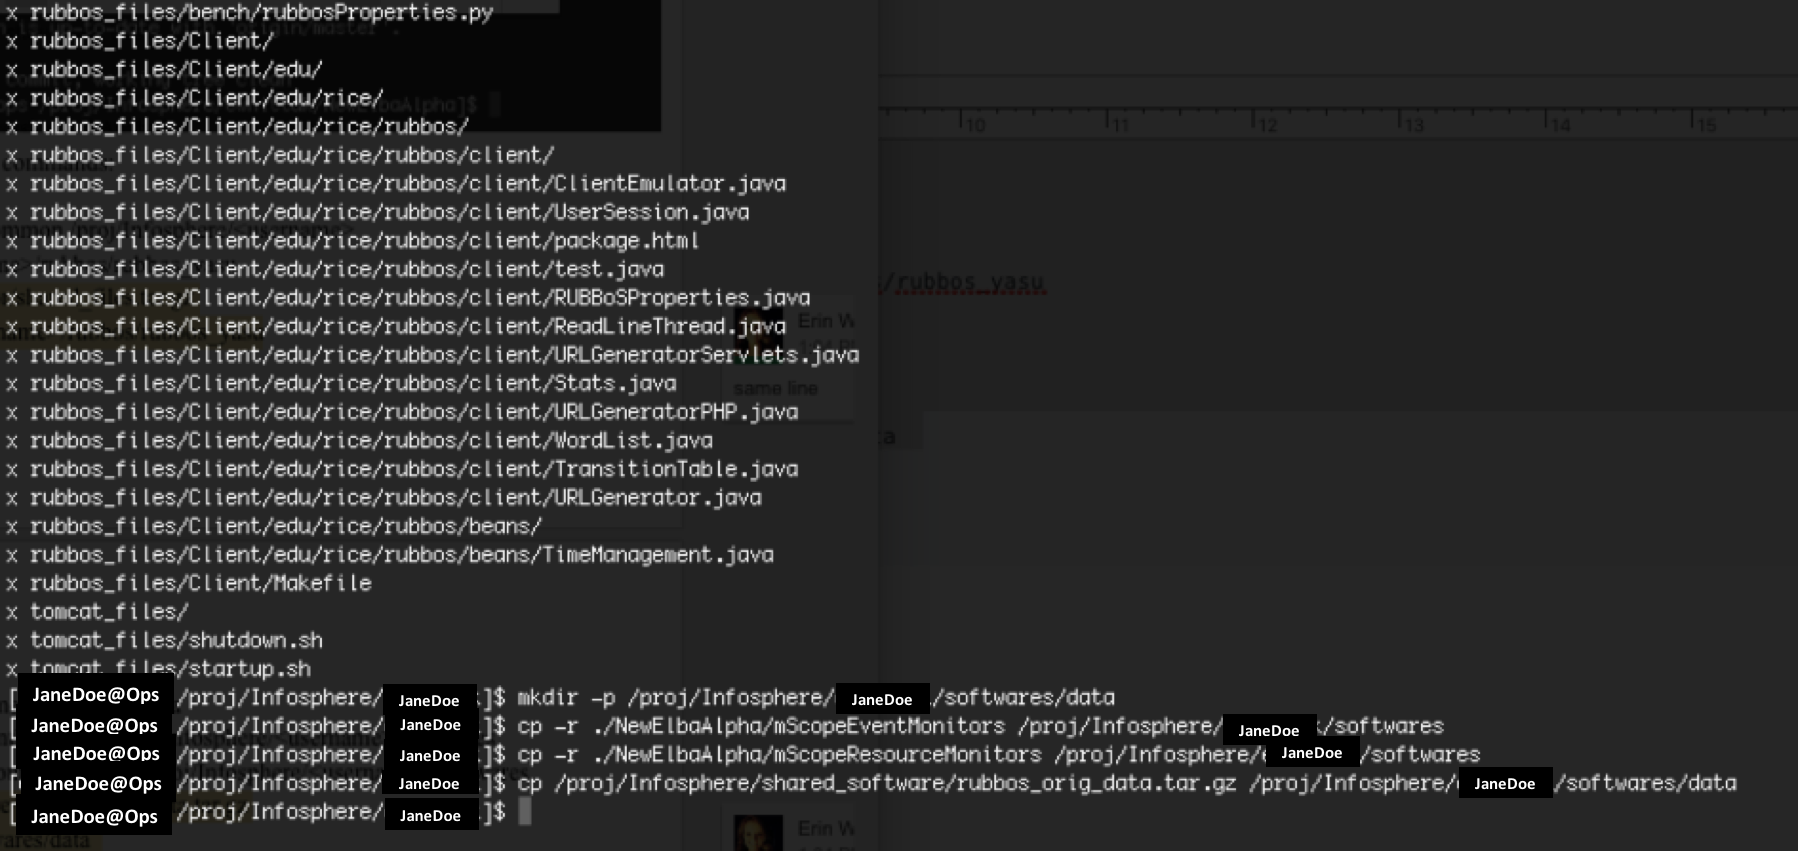
Next, execute the following commands:
pwd && cd /proj/Infosphere/JaneDoe cp -r ./NewElbaAlpha/generator/common /proj/Infosphere/JaneDoe mkdir -p /proj/Infosphere/JaneDoe/rubbos/rubbos_yasu tar -zxvf ./NewElbaAlpha/generator/shared_files.tar.gz --directory=/proj/Infosphere/JaneDoe/rubbos/rubbos_yasu mkdir -p /proj/Infosphere/JaneDoe/softwares/data cp -r ./NewElbaAlpha/mScopeEventMonitors /proj/Infosphere/JaneDoe/softwares cp -r ./NewElbaAlpha/mScopeResourceMonitors /proj/Infosphere/JaneDoe/softwares cp /proj/Infosphere/shared_software/rubbos_orig_data.tar.gz /proj/Infosphere/JaneDoe/softwares/data -
Your terminal should look like the following:

Experiment Description
This Tutorial helps a user specify, create and deploy a 1-1-1-1 topology topology where each number corresponds to the number of deployed Web, Application, Middleware and Database servers in that order.
In this case, 1-1-1-1 means:
-
1 Apache HTTP server
-
1 Tomcat Application server
-
1 CJDBC Middleware server
-
1 MySQL DB server
Follow this link if you want to execute an experiment other than the topology 1-1-1-1.
The example experiment uses an n-tier application benchmark, RUBBoS. RUBBoS is modeled after a commercial web-based bulletin board system, SlashDot. The benchmark natively supports Read-only and Read-Write workloads.
The benchmark enables users to specify the workload in terms of the number of concurrent client requests. For this tutorial, we will use workloads ranging from 1000 to 7000.
Note: This screen capture video takes you through creating and deploying a similar experiment. However, the video corresponds to a prior release, so it is deprecated.
Experiment Creation
The following Steps walk through creating a “reservation” on one of the supported public clouds, completing an experiment specification / configuration for our Tutorial experiment, and finally generating the installation scripts and configuration necessary for running the Tutorial experiment.
Step 1: Create “reservation” on Emulab cluster
-
Create a new experiment on Emulab by selecting the Experimentation drop down at the top of the website.
-
Select Begin an Experiment
-
Complete the form as instructed. Please note the following restrictions for Experiment Name:
Note: Experiment Name should only contain lowercase letters and/or numbers in the name. No spaces or special characters, including underscore (“_”)
Note: This value will be used extensively throughout later portions of this tutorial. -
Provide an NSFile topology descriptor
- You can use this NSFile sample to execute the Tutorial’s 1-1-1-1 topology
- Copy and paste this sample’s contents using your favorite ‘nix editor, i.e. Sublime, Atom, Vim/emacs, or TextWrangler
- This input file specifies the network topology, machine types and OS images for the experiment
- For our experiment, the NSFile includes 10 nodes which correspond to the following configuration: 1 Control node, 1 Benchmark node, 4 Client node, 1 HTTPD node, 1 Tomcat node, 1 C-JDBC node, and 1 MySQL node.
-
Submit the form after providing all necessary information, including uploading the NSFile
Note: The sample NSFile places all of the nodes on one local area network (LAN). This can be changed by including more LAN’s in the specification and connecting the desired nodes to a particular LAN.
Step 2: Describing the Experiment by editing/completing Experiment XML
We use an XML file for describing an experiment. Its inputs help to define experiment artifacts–the output of our generator.
This XML file contains various environmental and experimental parameters, for example:
-
username and groupname for executing the experiment
-
workload, i.e. number of concurrent user requests
-
number of nodes (servers) and the component software (application software) to install on each
-
monitoring to activate
In short, these parameters control the software, topology, workload and monitors used during the execution of a system experiment. As such, it serves as a de facto experiment specification.
To begin, perform the following commands from users.emulab.net:
cd /proj/Infosphere/JaneDoe/common/experiment_xml
cp RUBBOS-1111-EMULAB-DEFAULT.xml RUBBOS-1111-EMULAB-USERNAME.xml
Open the file RUBBOS-1111-EMULAB-USERNAME.xml - or in the case of our example RUBBOS-1111-EMULAB-JaneDoe.xml - using your favorite text editor on ‘nix like vim or emacs
We will now modify several default parameters prior to generating our experiment’s scripts and other artifacts:
-
Experiment Name
- Complete as follows:
- Obtain the value for Experiment Name from Step 1
- Combine that with
.infosphere.emulab.net - Add this to the EMULAB_EXPERIMENT_NAME element’s value attribute
-
For example, if the Experiment Name from Step 1 was jkimball1112, then the entry for this parameter would be as follows:
<param name="EMULAB_EXPERIMENT_NAME" value="jkimball1112.infosphere.emulab.net"/>
- Complete as follows:
- Output Directories
- The following group of parameters direct where the experiment’s scripts and output are copied.
-
Complete these using your emulab Account Username and Experiment Name from Step 1
  <param name="WORK_HOME" value="/proj/Infosphere/<username>/rubbos/rubbos_yasu"/>
  <param name="OUTPUT_HOME" value="/proj/Infosphere/<username>/rubbos/rubbos_yasu/<experiment_name>"/>
  <param name="RUBBOS_RESULTS_HOST" value="<username>@users.emulab.net"/>
  <param name="RUBBOS_RESULTS_DIR_BASE" value="/proj/Infosphere/<username>/results"/>
  <param name="RUBBOS_RESULTS_PARSE" value="VALUE_OF_RUBBOS_RESULTS_DIR_BASE/>
-
Username: Complete using your emulab Account Username
<param name="username" value="<username>"/> -
Monitors: Set the following monitoring parameters to false
<param name="psMonitor" value="false"/> <param name="iostatMonitor" value="false"/> <param name="sarMonitor" value="false"/> <param name="XML_ENABLED" value="false"/> -
Workloads
- This example experiment uses workloads ranging from 1000 to 7000 concurrent requests.
-
Lines like the one below can be modified by either changing the corresponding value or commenting out the line entirely
<param name="workload" value="1000"/>
Notes:
- mysqlReponseTime parameter should remain “false.” The screencast accompanying these instructions sets this parameter incorrectly.
- This file contains many additional parameters. A more complete description for most of them can be found at the end of the tutorial. See the section: XML Configuration Parameters
Step 3: Generate Experiment Scripts and Configuration using Experiment XML
Experimental artifacts like the scripts and software configuration are created dynamically by the code generation pipeline.
This pipeline can be executed by substituting the appropriate values as provided in Step 2 into the following commands:
ssh node1.EMULAB_EXPERIMENT_NAME
cd /proj/Infosphere/USERNAME/common/rubbosMulini6
In the case of our running example, these commands could be:
ssh node1.jkimball1112.infosphere.emulab.net
cd /proj/Infosphere/JaneDoe/common/rubbosMulini6
Finally, open runRubbosExperiment.sh and substitute the appropriate values as provided in Step 2 into the following:
BUILD_DIR=/proj/Infosphere/USERNAME
OUTPUT_HOME=OUTPUT_HOME
In the case of our running example, these values would be:
BUILD_DIR=/proj/Infosphere/JaneDoe
OUTPUT_HOME=/proj/Infosphere/JaneDoe/rubbos/rubbos_yasu/jkimball1112
The script can now be run with the following command using the Experiment XML filename from Step 2:
./runRubbosExperiment.sh <Experiment_XML_Filename>
In the case of our running example, this should be:
./runRubbosExperiment.sh RUBBOS-1111-EMULAB-JaneDoe.xml
Notes:
- Activating the experiment (i.e. “swapping it in”) on emulab and logging into node1 is not a strict dependency. However, this path maximizes experiment generation success, since the known dependencies are respected.
- The runRubbosExperiment script should be executed in a place with JAVA_HOME set. This Tutorial meets this requirement by using nodes with the FC15RubOral image.
- Samples of Experiment XML files are available in the
/examplesdirectory in our Github repository.
Step 4: Executing the Experiment on Emulab cluster
Continuing with our example, perform the following by substituting from Step 2 the values for the <EMULAB_EXPERIMENT_NAME> and <OUTPUT_HOME> parameters:
ssh node1.EMULAB_EXPERIMENT_NAME
cd <OUTPUT_HOME>/scripts
In the case of our example, these would be:
ssh node1.jkimball1112.infosphere.emulab.net
cd /proj/Infosphere/JaneDoe/rubbos/rubbos_yasu/jkimball1112/scripts
Finally, the experiment can be run by executing the run.sh script with the following command:
./run.sh
Executing an experiment using the run script has a few limitations:
- Error messages and standard output will not be captured for future analysis. This makes verification difficult as debugging would require examining terminal-based output.
- Secondly, since this command is executed over an SSH session, it could timeout if the experiment execution time exceeds the default SSH timeout. Ending an SSH connections generates a kill signal, which would cause abrupt termination of the experiment prior to its natural completion.
Running experiments under a
screensession mitigates these problems. [Ensure the Linux programscreenis installed prior to executing an experiment with this method.] The Linux program,screen, enables scripts to be executed independent of an activesshsession.
To run an experiment under screen, use the following script:
./run_screen.sh
This script creates a new session, navigates to the experiment at the provided path, runs the experiment, and detaches from your current shell. The script also saves all output to a log file in the specified directory.
To re-attach to the session, a user can run the following command using the value for Experiment Name from Step 1:
screen –r <Experiment_Name>
Appendix
Code Generator Description
In general, our code generator is orchestrated with the runRubbosExperiment.sh script. This script calls a Java program, DeployScriptGenerator, which generates all of the necessary scripts and artifacts for executing an experiment on one of the supported Cloud infrastructures.
The following describes the script more generally and the organization of the code generator source code:
-
Code Generator Organization:
- Base directory,
../common/rubbosMulini6, contains the aforementioned script. It also acts as a reference point for executing the code generator and pipeline. -
Two sub-directories house the code generator source and base artifacts:
../rubbosMulini6/templates- contains the XSL-based code templates that serve as a basis for the experiment scripts../rubbosMulini6/source- contains the Java source code for the code generator
- Base directory,
-
Parameter Descriptions. The
runRubbosExperiment.shscript uses the following parameters in addition to those mentioned at the beginning of this Step. These might need to be altered depending on the environment used for generating experiments:MULINI_DIR: specifies the base directory of the code generator, i.e.../rubbosMulini6from aboveEXP_DIR: specifies the path to Experiment XML files, i.e. the location for the filename specified as a command line parameter
-
Dependencies:
- Directories,
/templatesand/sourceneed to be located in the same directory as the aforementioned script. Currently, all of these appear under/commonin the source code repository under/code_generator/ - Value of
OUTPUT_HOMEparameter used in this script needs to be the same as the value of theOUTPUT_HOMEparameter specified in the referenced Experiment XML file
- Directories,
Experiment Organization
In general, every generated experiment adheres to a canonical structure, which can be generalized as:
- Experiment-specific:
/proj/Infosphere/JaneDoe/rubbos/rubbos_yasu/<Experiment_Name> - Common across Users’ Experiments:
/proj/Infosphere/JaneDoe/rubbos/rubbos_yasu
/proj/Infosphere/JaneDoe/rubbos/rubbos_yasu/<Experiment_Name> is top-level directory for an experiment and contains all of the generated experiment artifacts.
- In fact, this line corresponds to the value supplied for the OUTPUT_HOME element in the Experiment XML
- This acts as a de facto reference point for many other scripts during the installation and configuration of the environment’s nodes and benchmark
- It must be accessible to the environment where the experiment will be run, so the associated scripts and configuration can be executed
/proj/Infosphere/JaneDoe/rubbos/rubbos_yasu contains several shared directories, i.e. all experiments reference these directories
- The following shared directories must be at the same level in the path as the
<Experiment Name> emulab_files: file system configuration forfdisktomcat_files: standard startup and shutdown scriptsapache_files: static html files for the benchmarkrubbos_files: benchmark source code for the Client generator and Application logic (Servlets)
Remark: There can be others such as postgres_files and a directory for marmot; however, these are only necessary for running experiments with postgres DBMS and the PRObE cloud respectively.